Installation of covers ER-A/ ER-AK/ ER-AH/ ER-AB
 It is possible to rotate the cover by ± 5° to compensate for housings which have been fitted at an angle.
- Mount the fixing cover, included in the scope of delivery, at the bottom left with the respective fillister head screw.
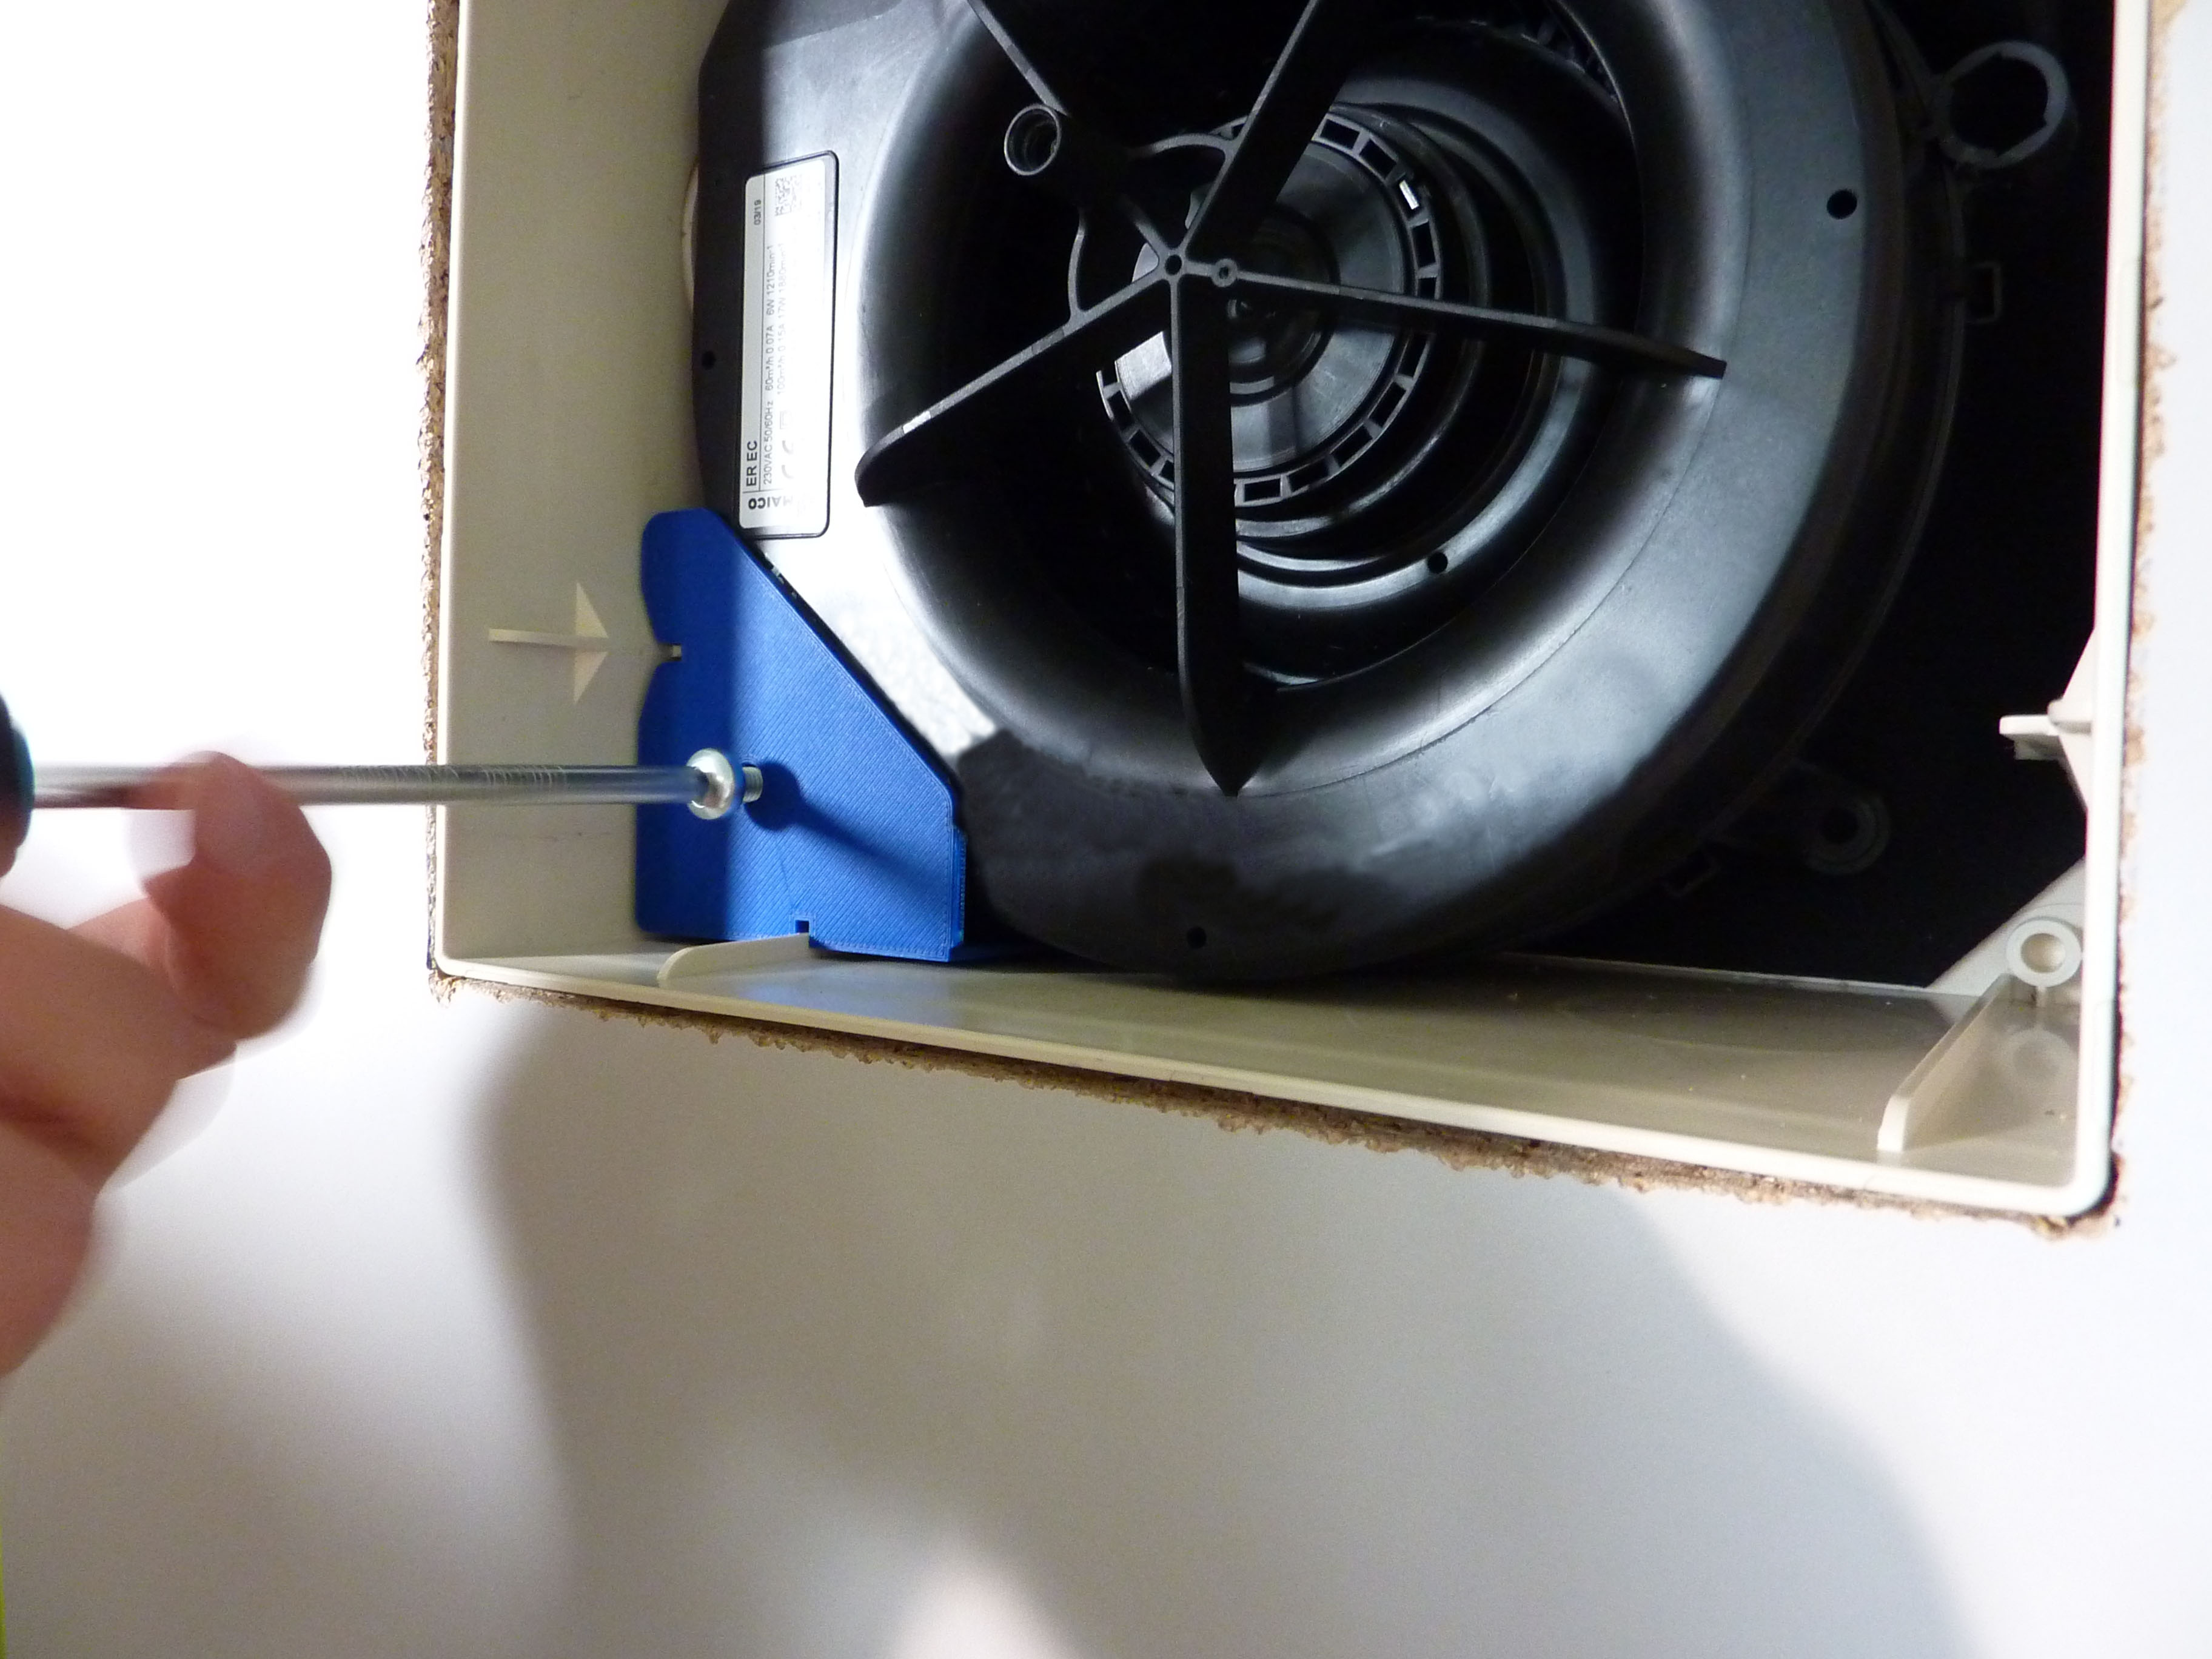
- For ER-A: continue with step 3.
For ER-AK, ER-AH, ER-AB, plug cover’s flat cable with plug into interface connector. Ensure correct connection.
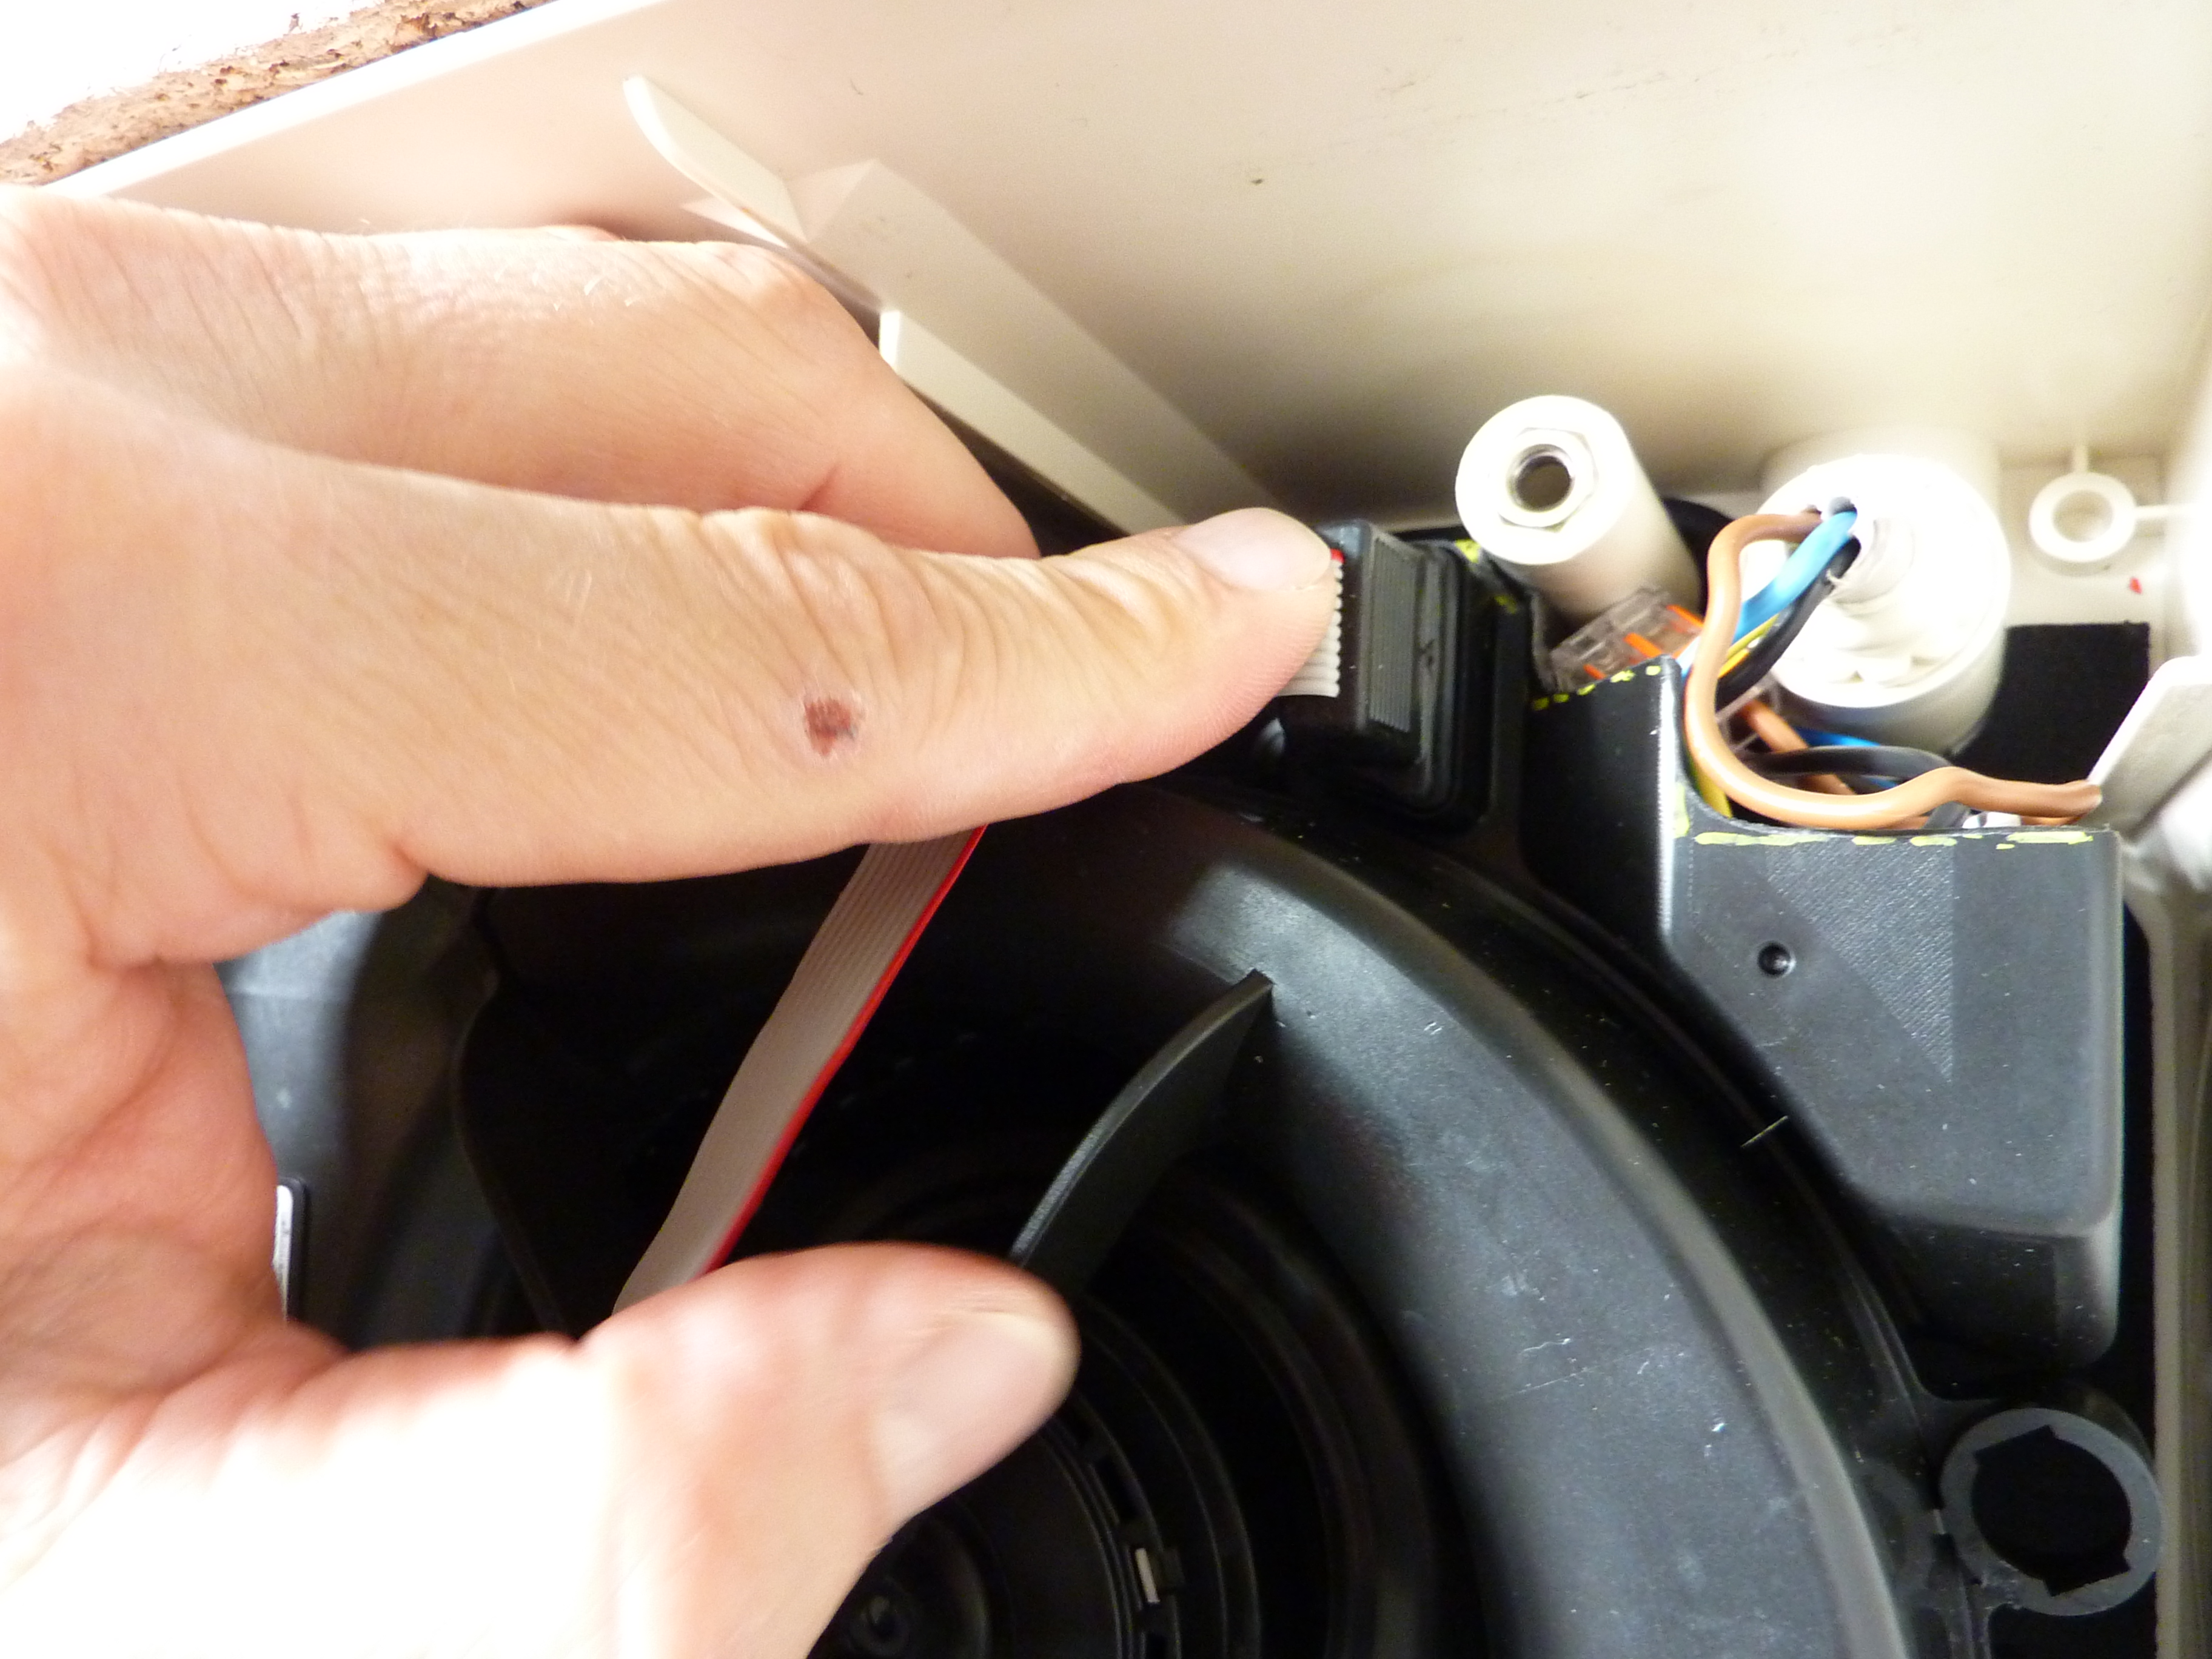
- Mount the fixing cover, included in the scope of delivery, at the top right with the respective fillister head screw.
Before installing the fixing cover, make sure to guide the flat cable through the provided slot. Note: This applies only to covers ER-AK/ER-AH and ER-AB. - ER-A, ER-AK, ER-AH, ER-AB: Screw the cover to the fan insert using the supplied central screw from the ER EC RF17 set. If installing on a wall, ensure that the Maico name is on the bottom right.
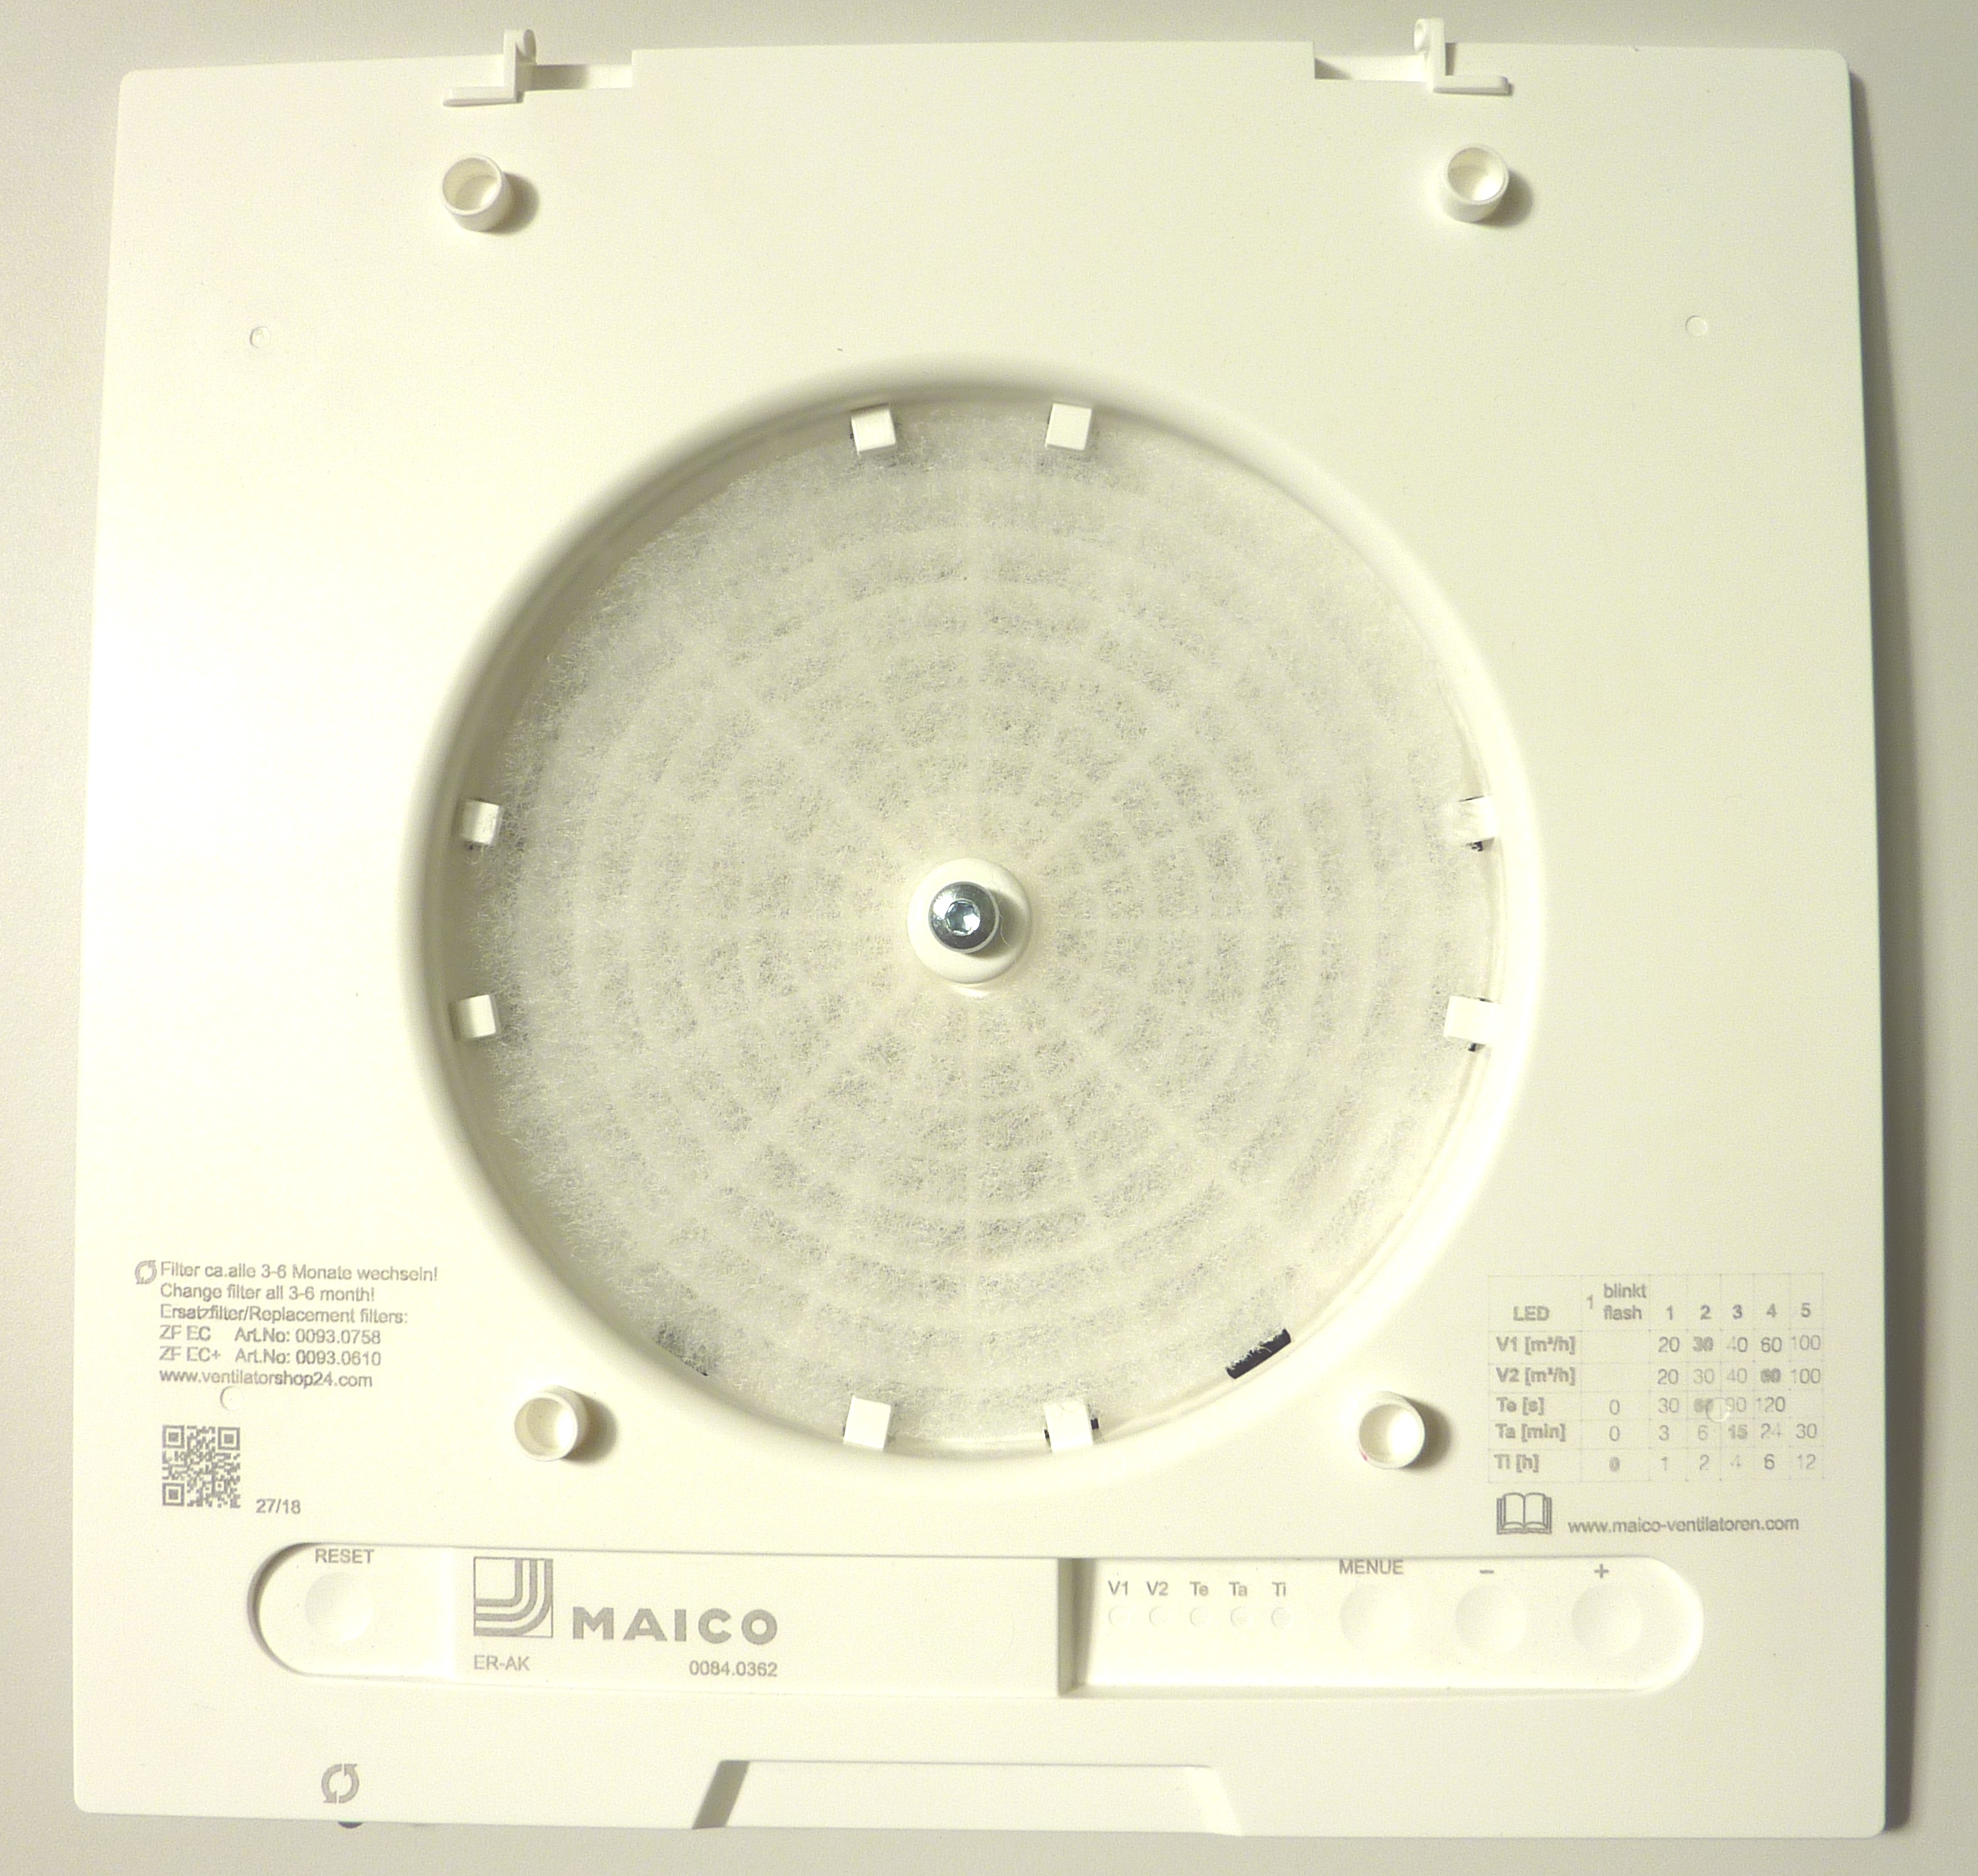
- Run function test: Test all unit functions (overrun time, interval, humidity control etc.)
- Fold down the upper part of the cover (upper part must audibly engage).