Shortening extension duct
The following preparations must have been completed → Shell installation instructions.
- The wall sleeve has been installed in such a manner that it protrudes 5...10 mm beyond the finished plaster of the exterior wall and has an incline of 1 to 2 % to the exterior wall. The sleeve must be sealed from the wall with silicone.
- The external cover is already mounted.
- The control cables of ventilation units, sensors and accessory components must be routed in the empty tubes.
To shorten the extension duct, proceed as follows:
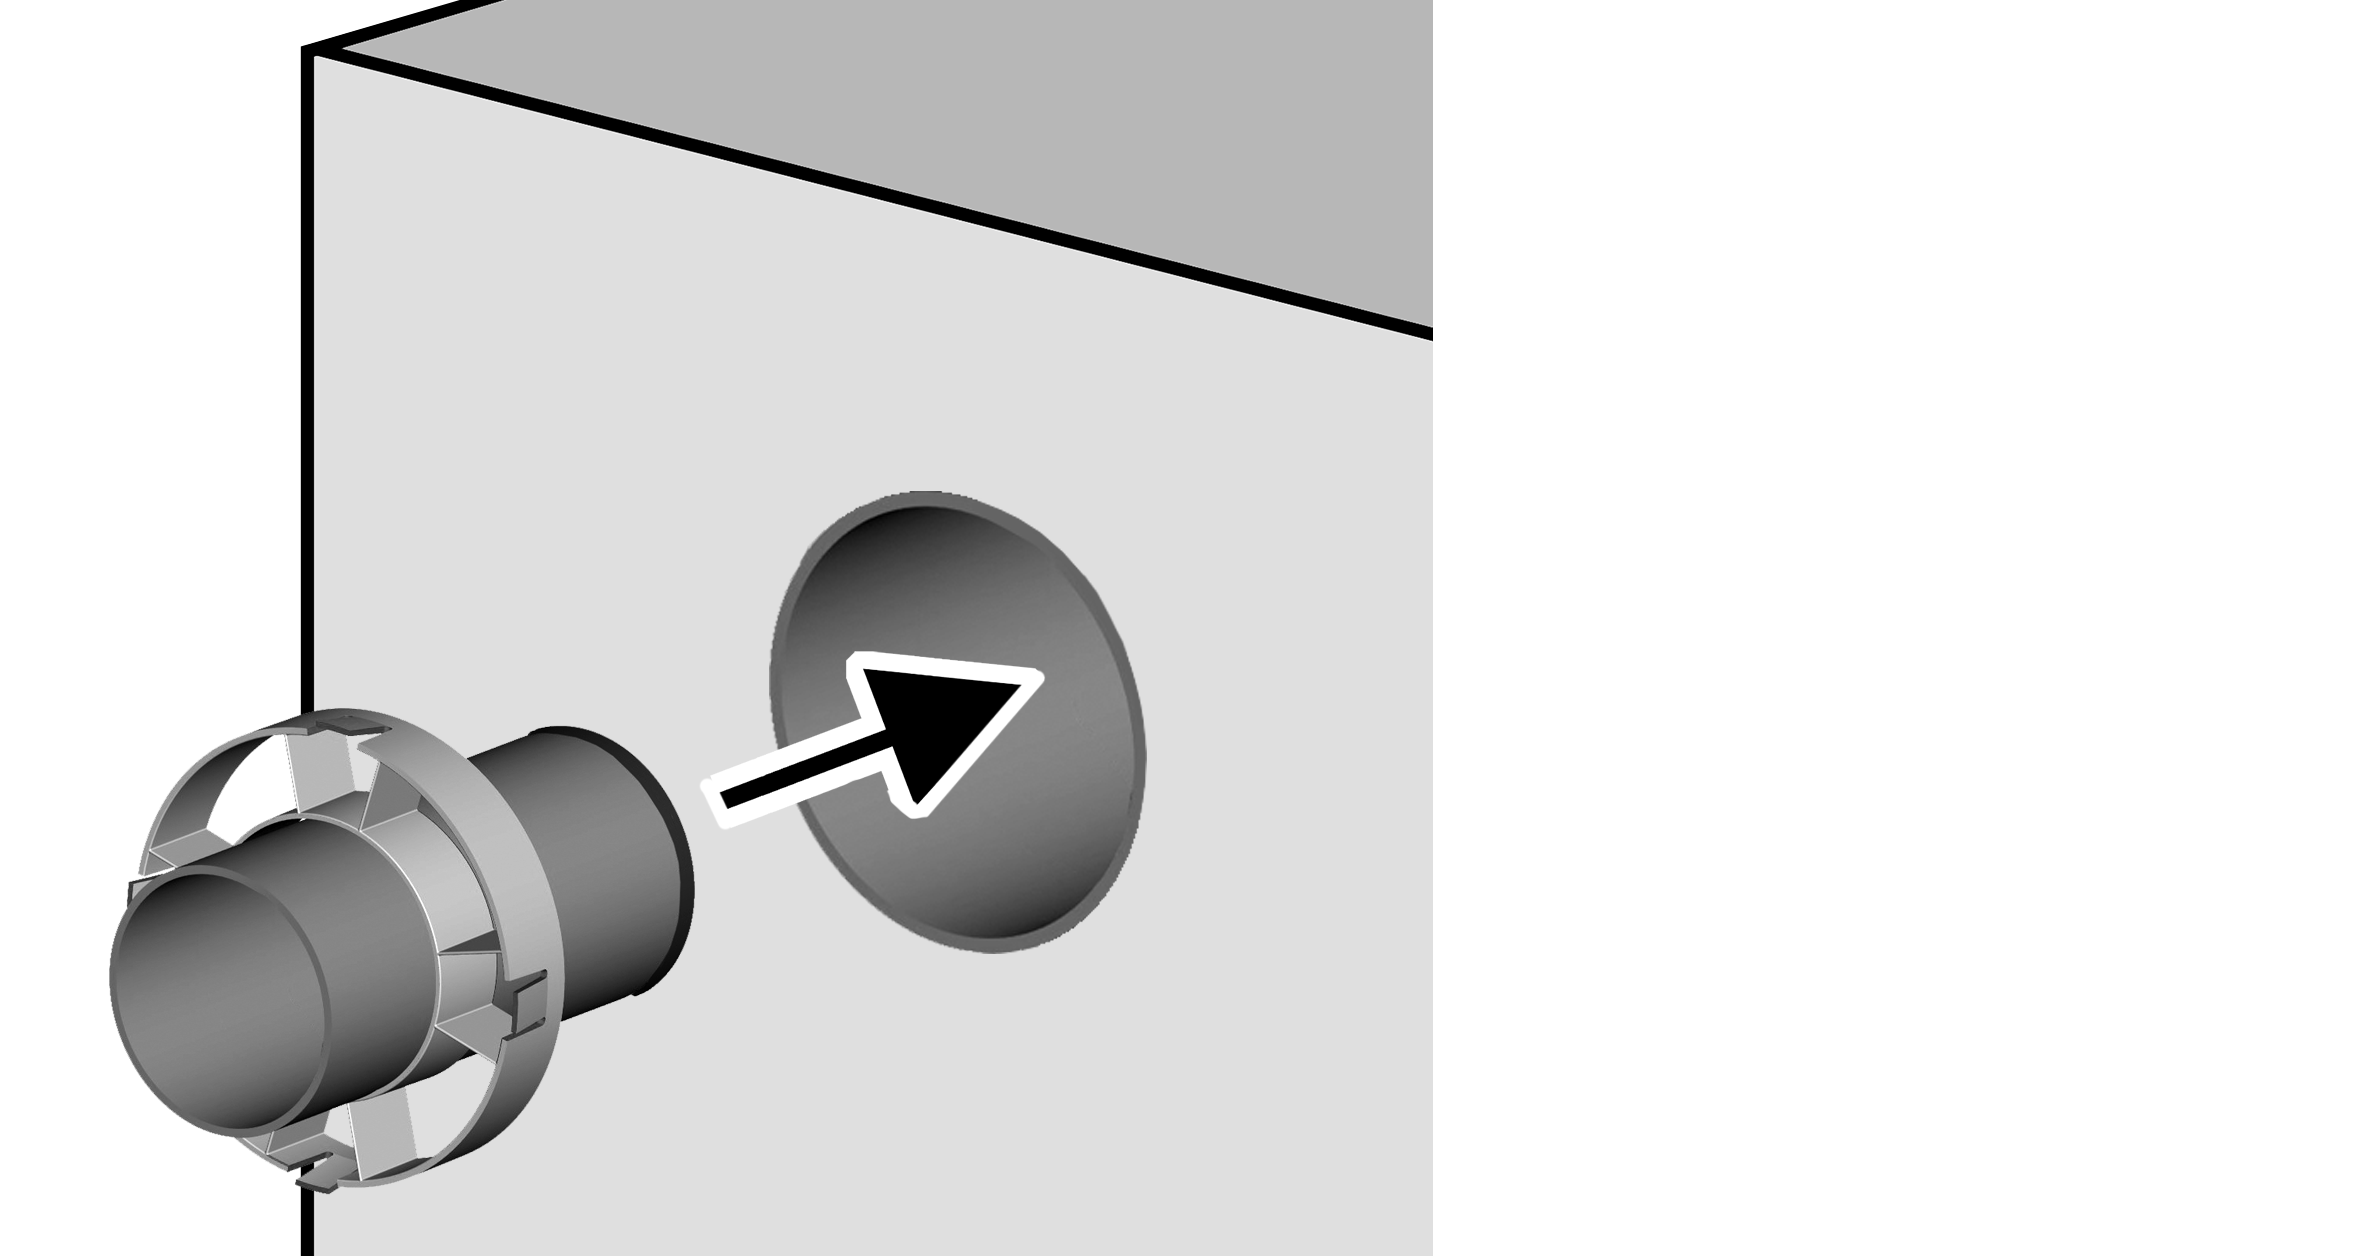
4 | Centring ring |
5 | Extension duct |
6 | Centring ring |
- Slide extension duct into wall sleeve, with centring ring(s), up to stop on the external cover. Ensure that the centring ring is positioned as far inside as possible. With PPB 30 VS extension, use two centring rings (position as far inside and outside as possible).
- Take off front cover of internal cover’s housing. To do this, press the two locking levers on the underside up a little and take off the cover.
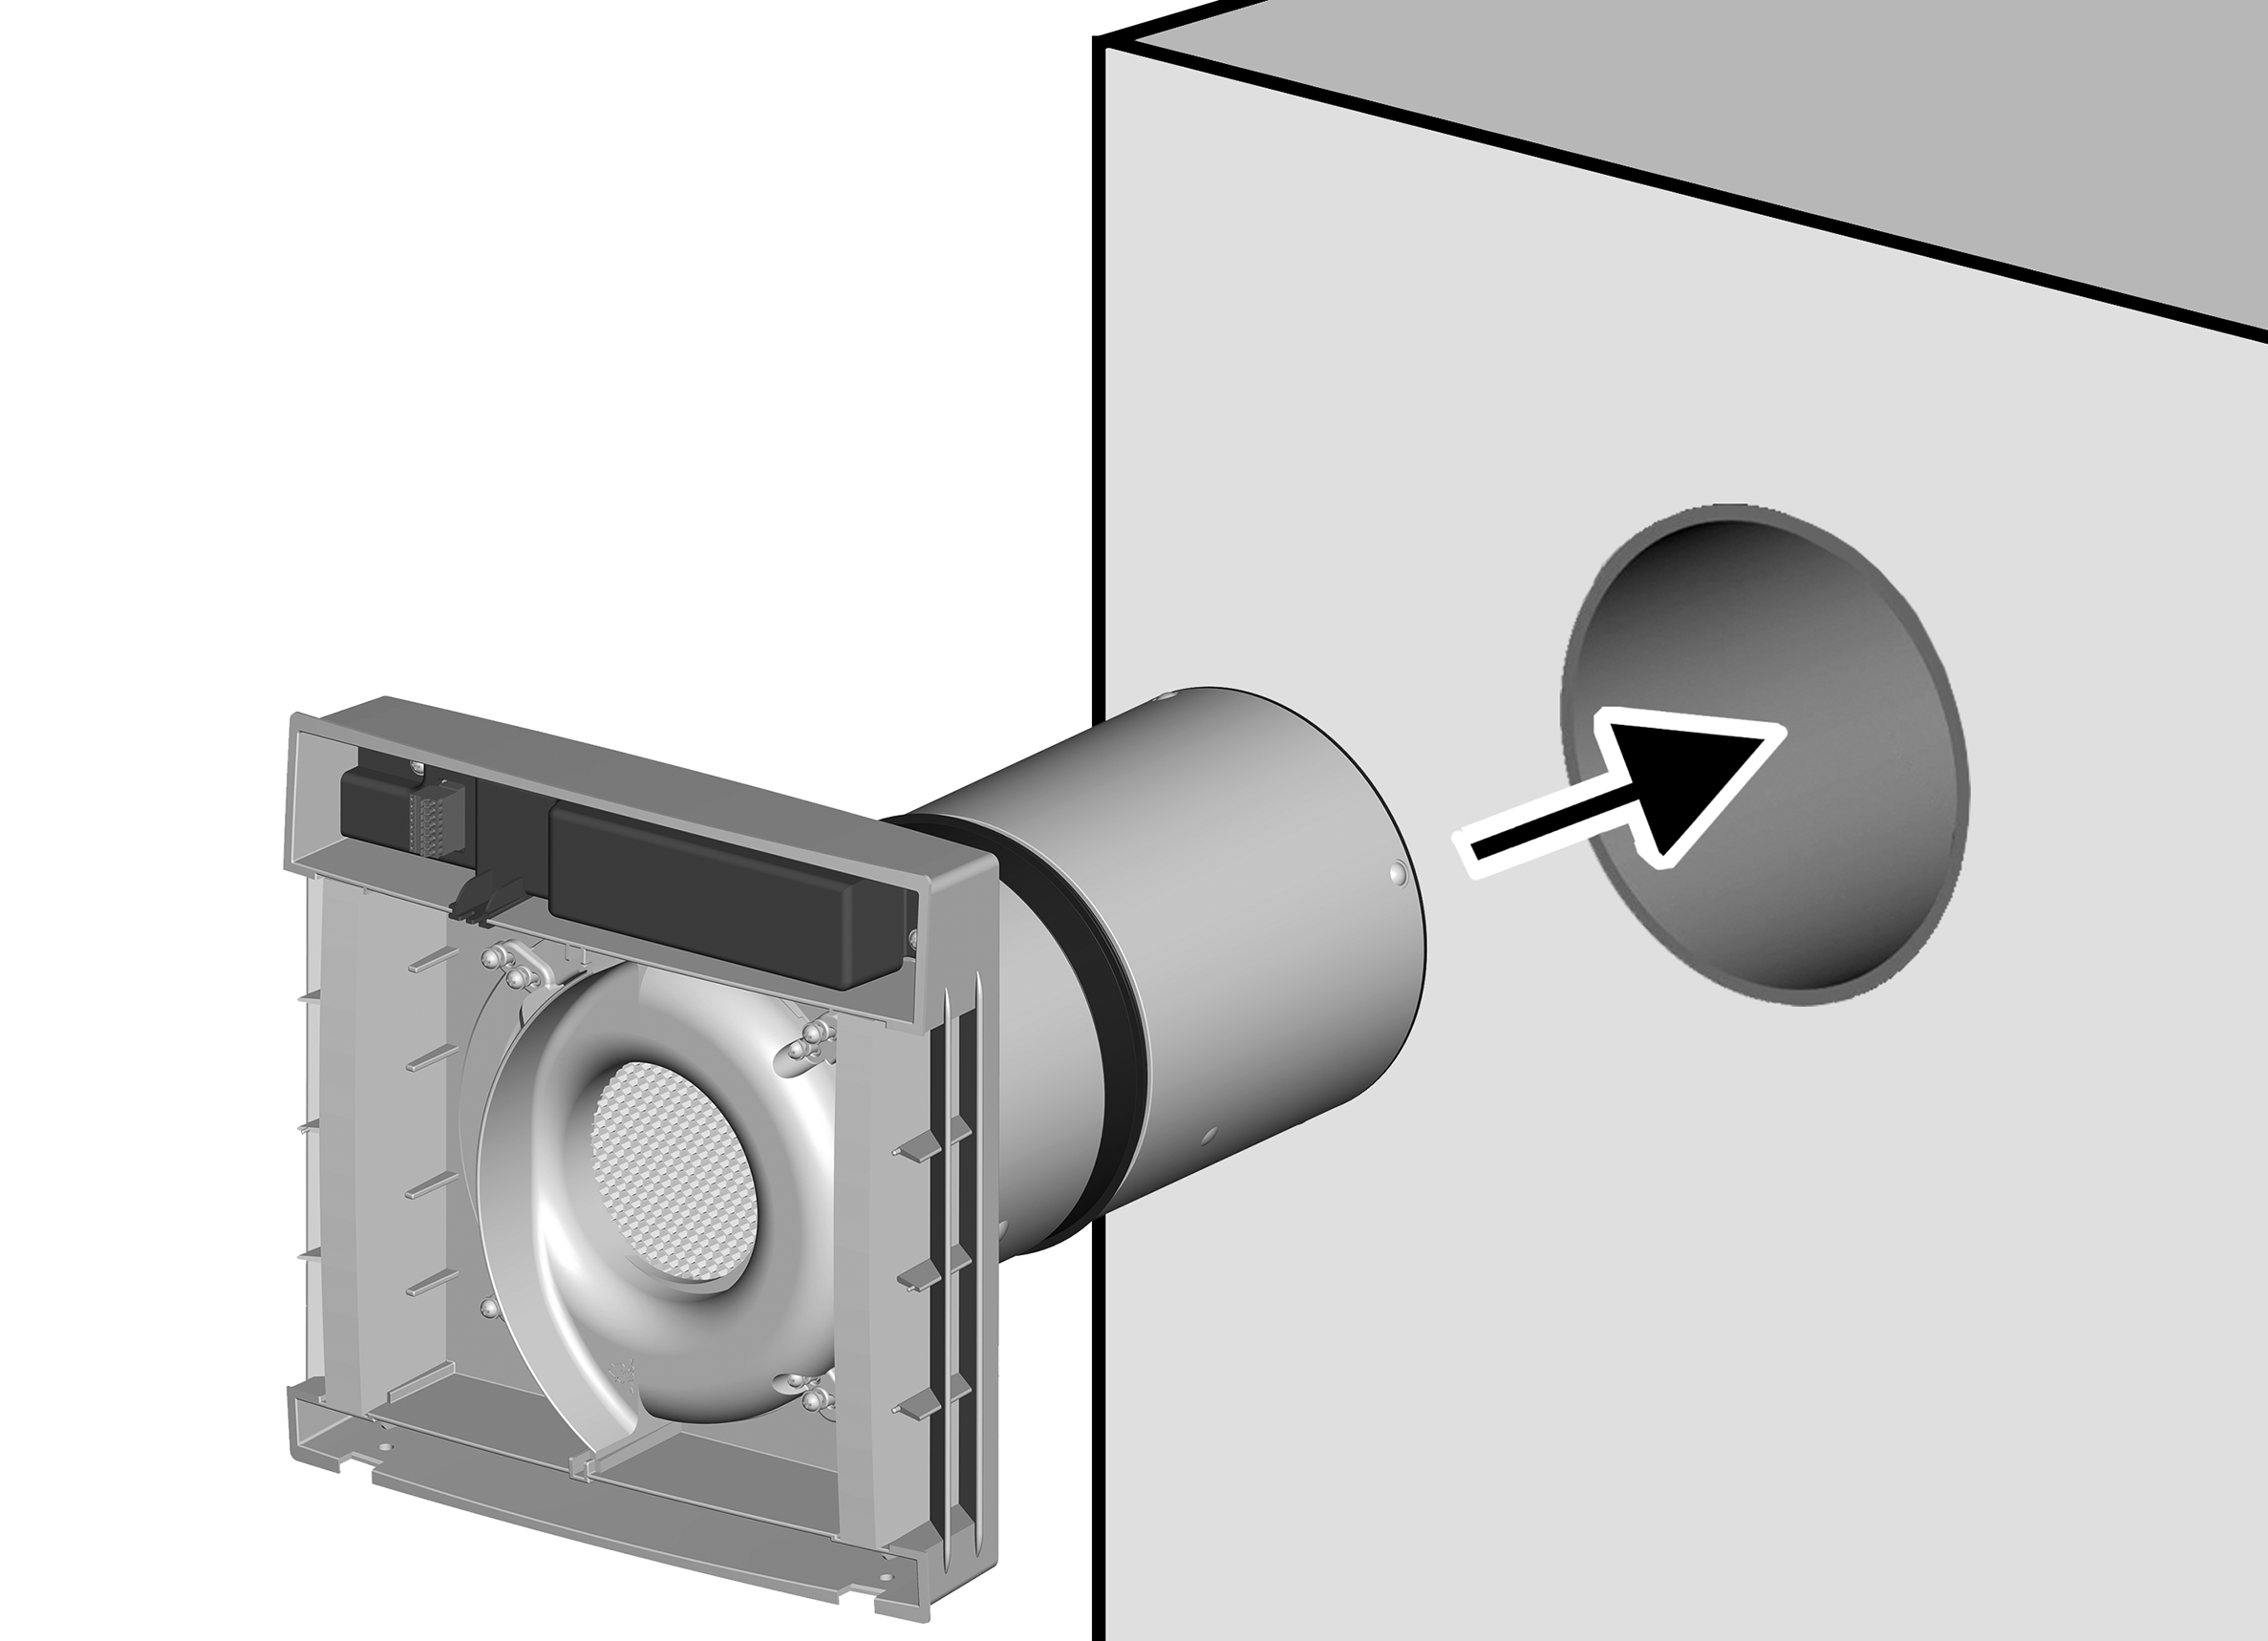
- Insert slide-in module into wall sleeve with fitted internal housing and slide onto extension duct so that the fluid separator is firmly connected.
- Accurately measure distance between internal cover and wall (dimension "x" in mm).
- Take all components out of wall sleeve.
 Risk of injury when handling housing parts with sharp edges, e.g. burrs.
Wear protective gloves.
- Saw extension duct to x + 5 mm. Deburr saw cut.