Installation
 The mounting plate is designed exclusively for the thermally insulated Maico MT-R125 thermal duct (hereafter MT ducts).
For mounting on wall:
Maintain an incline of 1 to 2 % towards the exterior wall.
- To protect against dust or plaster during the construction phase until the unit is installed, tape the MT ducts with the sealing foils supplied.
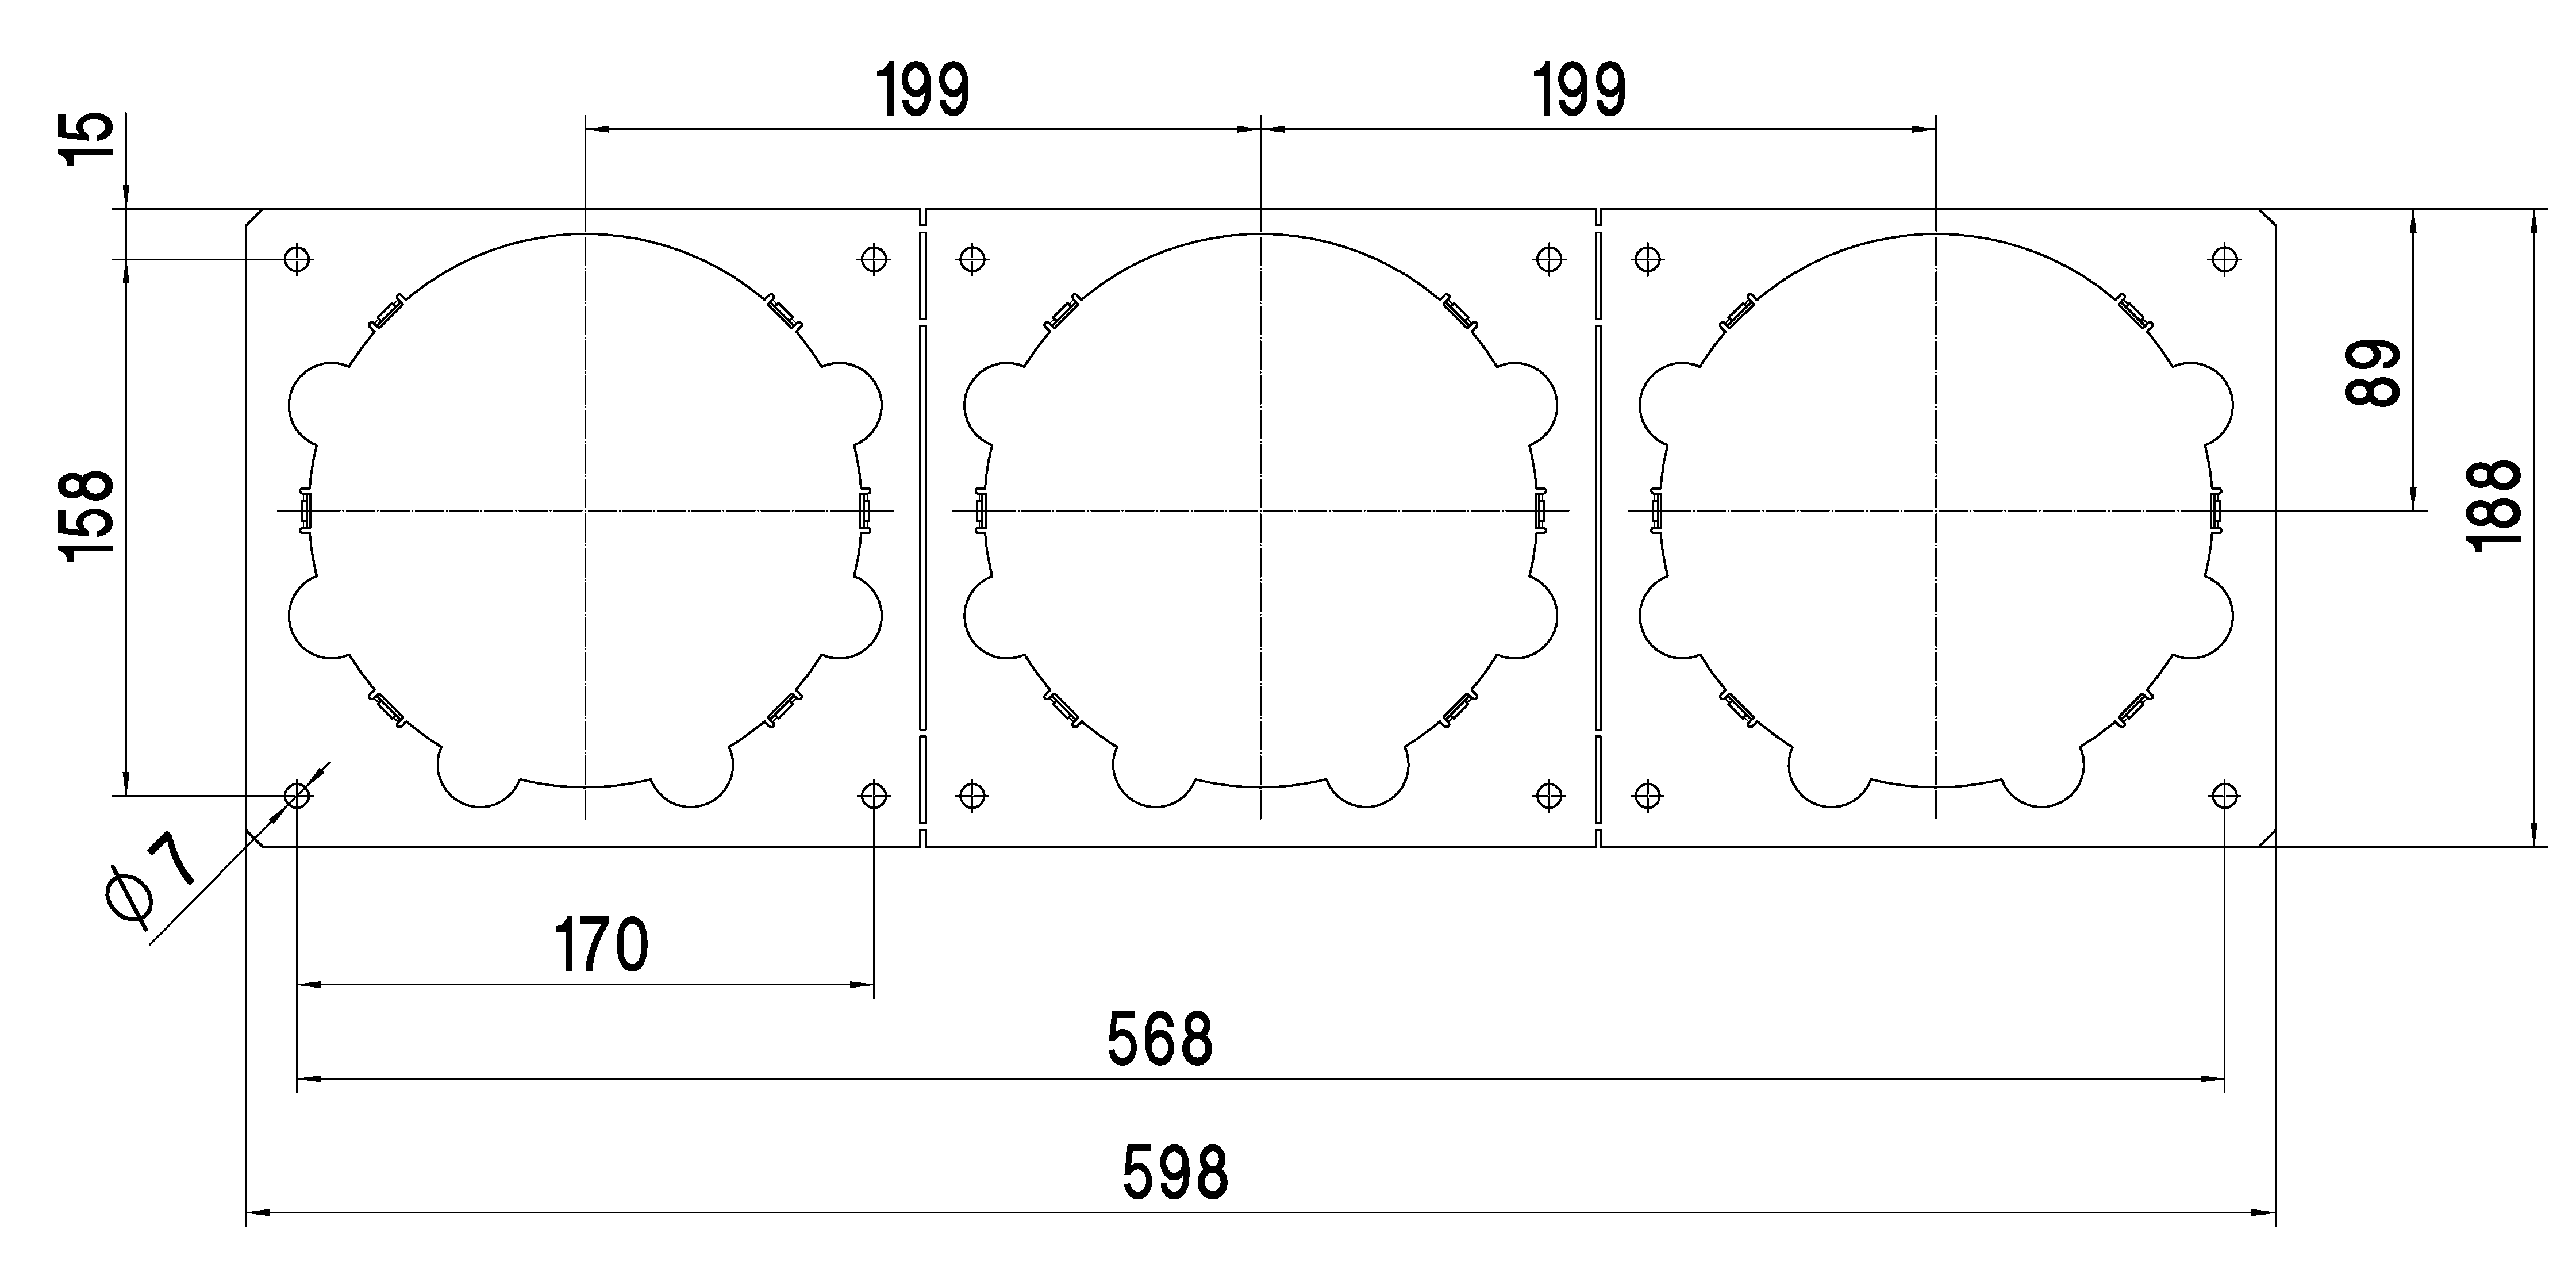
- Using the mounting plate, mark the position of the drill holes and then drill the holes.
The mounting plate can be used as a drilling template.
- Drill 180 mm core drill hole.
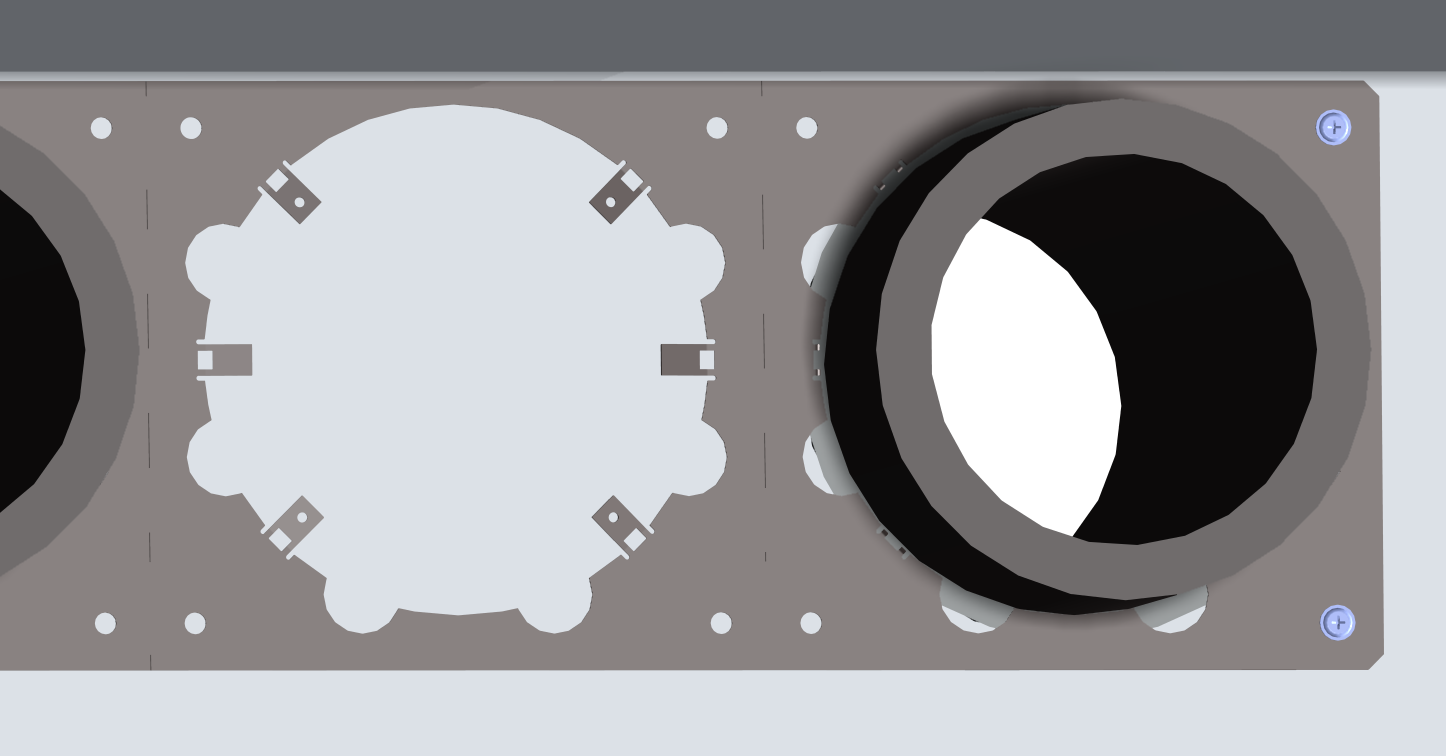
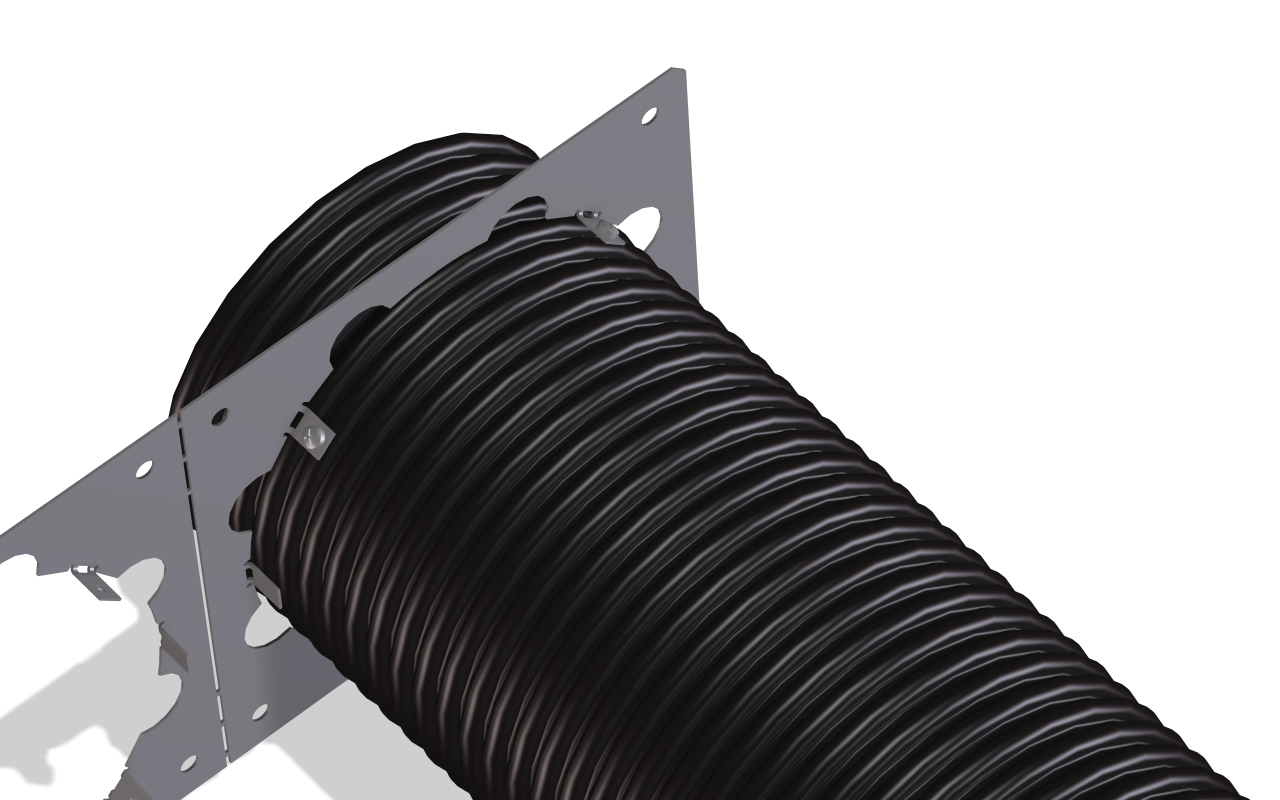
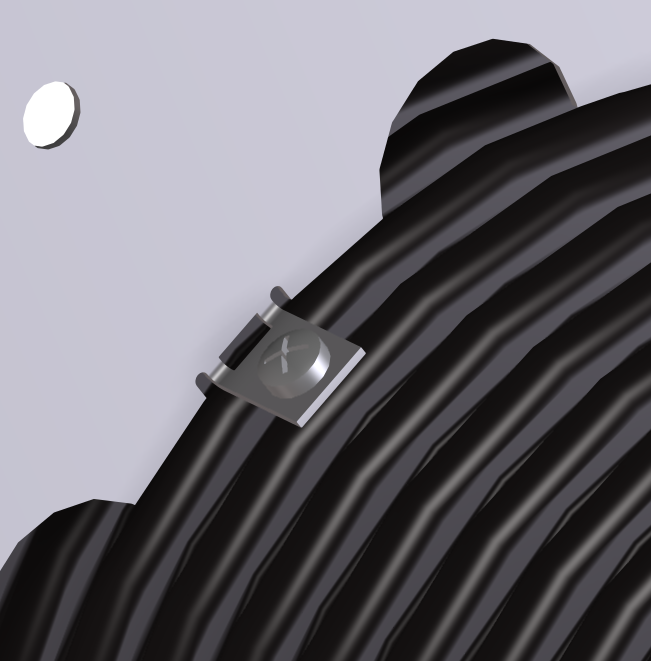
- For the opening(s) not required, straighten the tabs on the mounting plate, insert the MT ducts and fix them with the supplied screws.
- Fasten the mounting plate.
- Fix the MT ducts in the wall with mounting foam.
The recesses on the mounting plate are used to fill the cavity between the masonry and MT ducts with non-pressing construction foam using a foam gun.
- On the outer façade, adjust the duct length to the intended external wall coverings.
- Inside, affix the supplied sealing foils on the duct openings to prevent contamination during the construction phase.
- Before connecting the WS 120 Trio, remove the sealing foils from the MT ducts.
- Push the WS 120 Trio ventilation unit onto the two MT ducts.
- Fix the WS 120 Trio ventilation unit to the wall or ceiling → WS 120 Trio installation, commissioning and maintenance instructions.
- Remove the outer foils before fitting the external covers.