Final installation
 Danger of short-circuits and damage to the unit. Humidity will penetrate if electronics cover is not fitted correctly.
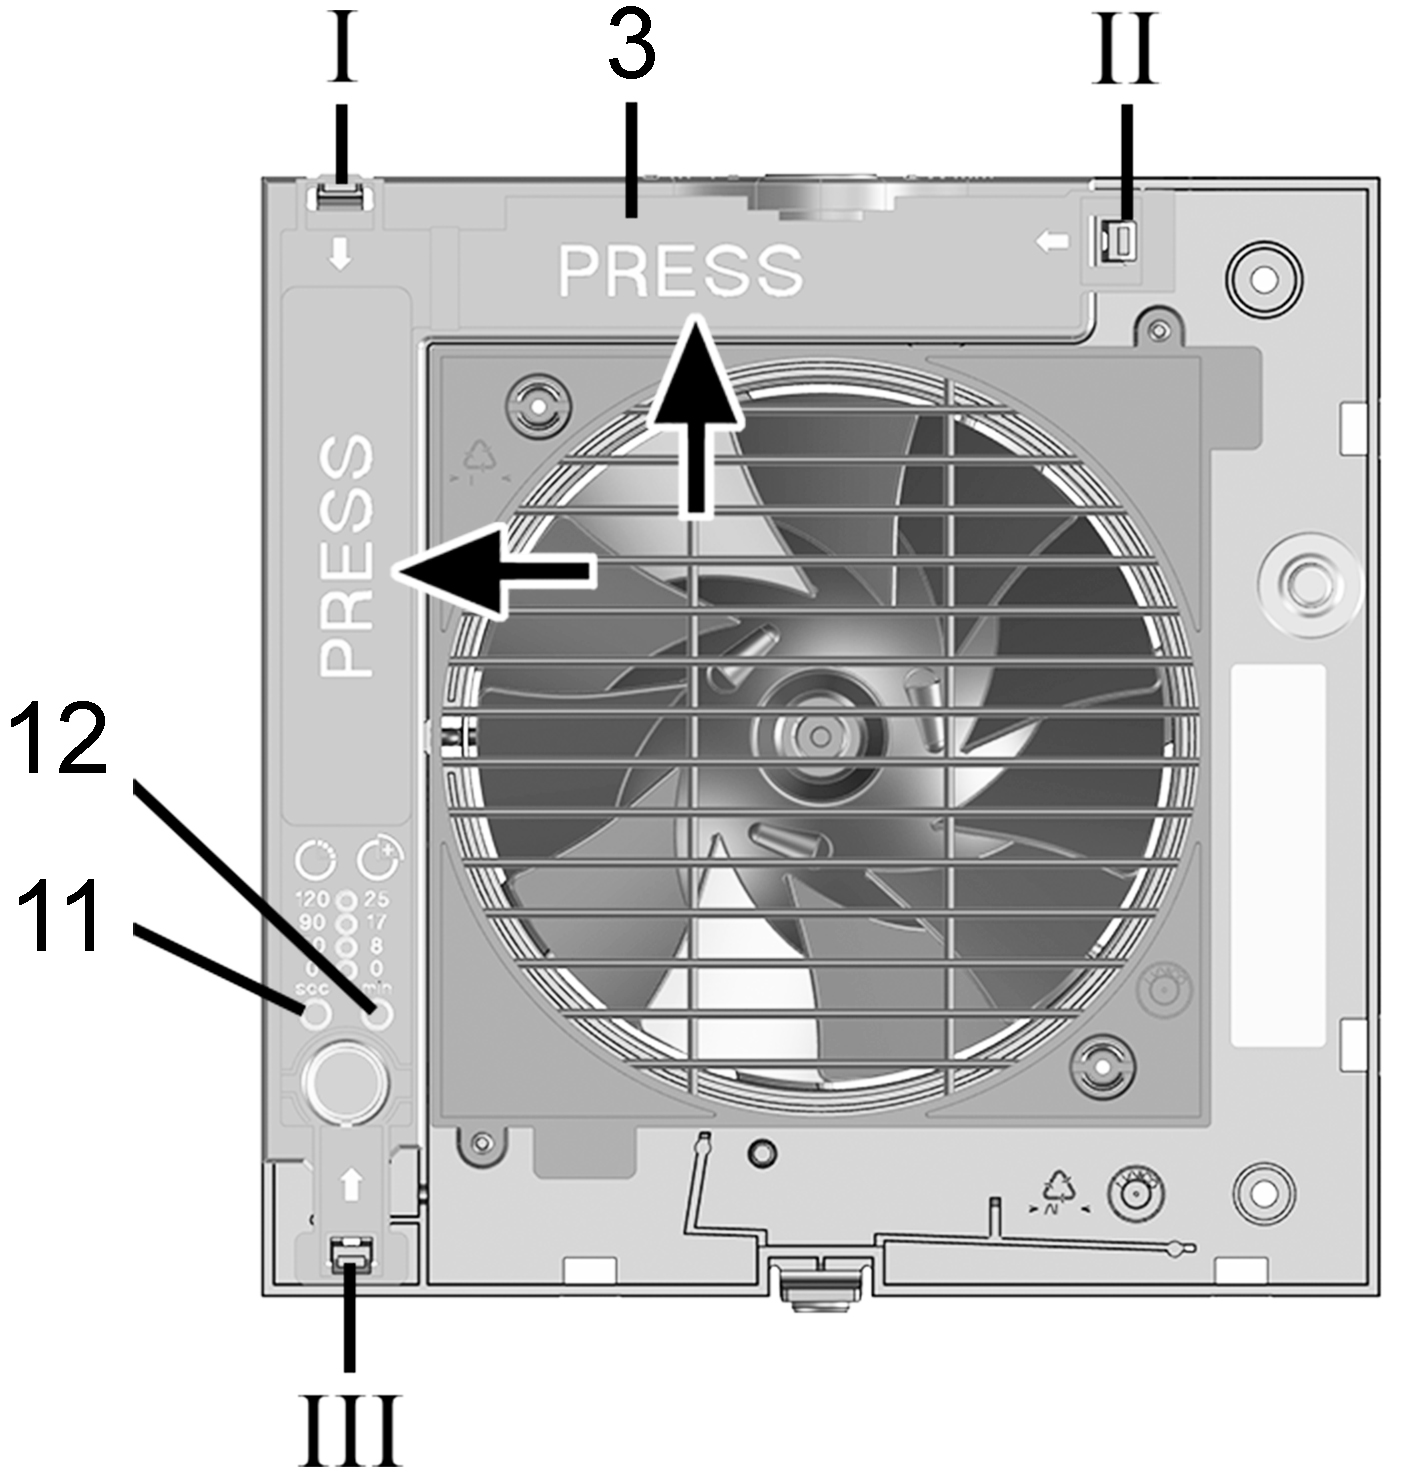
- Press electronics cover firmly onto housing such that it is sealed and flush all the way around. When doing so, do not press setting buttons.

3 | Electronics cover |
11 | Setting button for start delay, |
12 | Setting button for overrun time/LED (RC units) |
I-III | Housing recesses I, II and III for locking tabs |
- Push the electronics cover onto the 3 locking tabs at the housing recesses I, II and III until the tabs engage. In addition, press the electronics cover firmly into the housing at the positions indicated by the word PRESS.

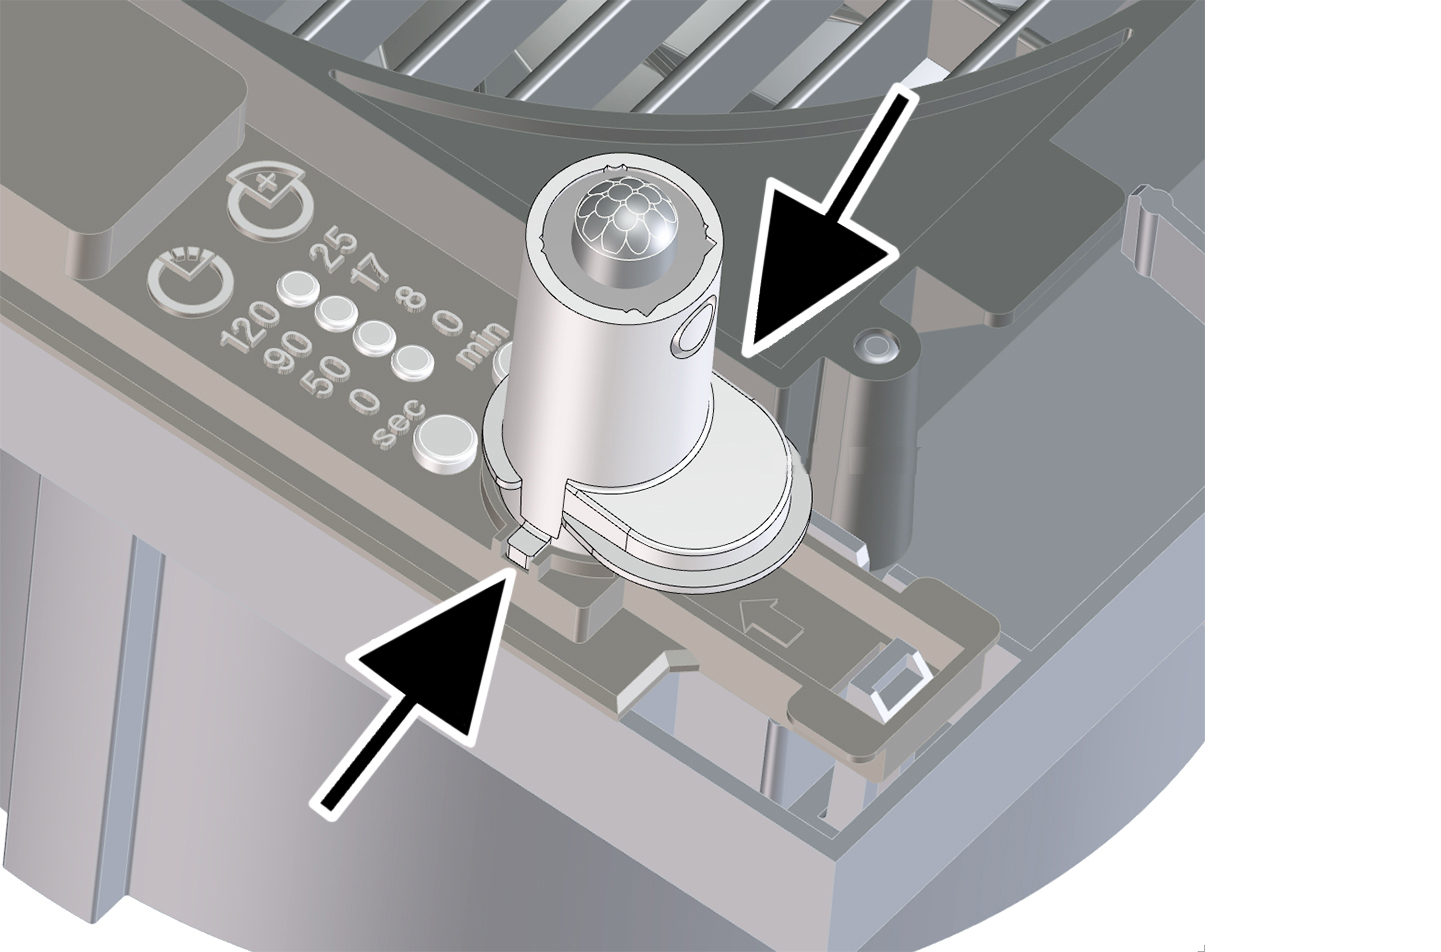
- For unit versions B, KB, H, KH, RCH and KRCH, insert the supplied sensor into the connector socket, in the correct position (→ arrows).
and KH: Do not touch/push on the membrane on the lower side of the sensor wall, otherwise it will be damaged.

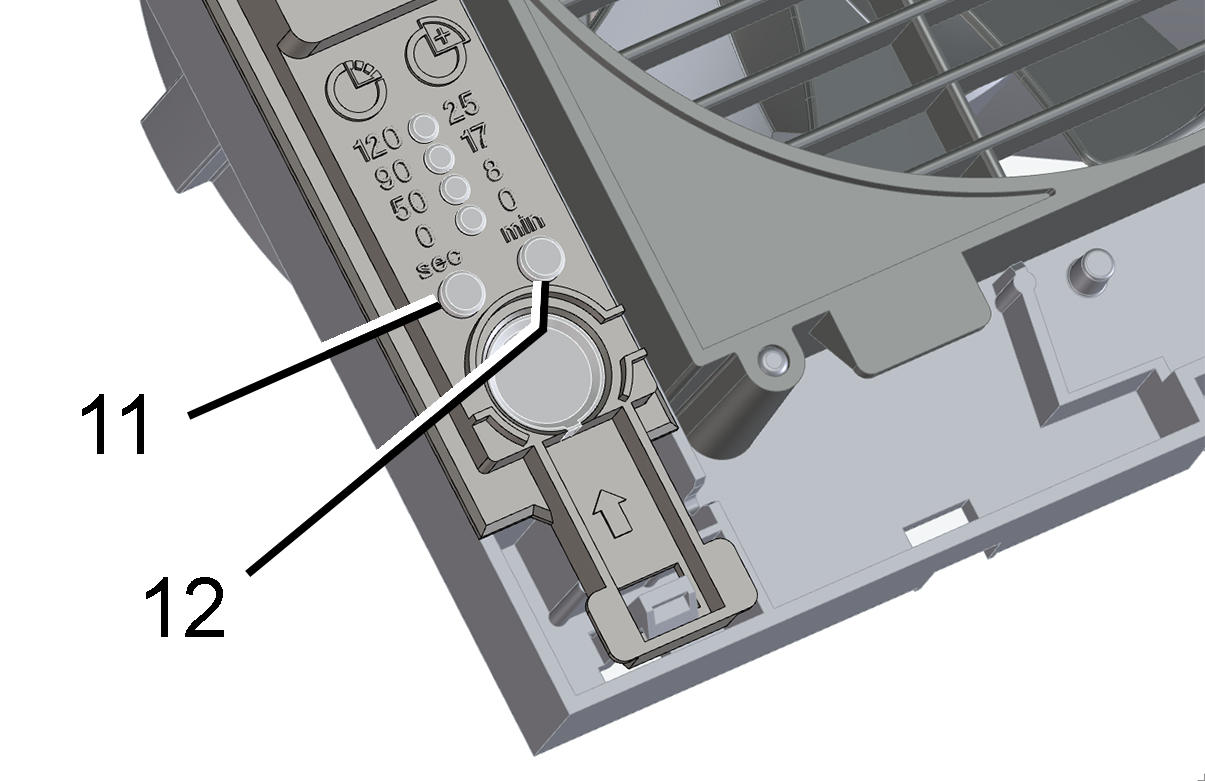
11 | Setting button for start delay |
12 | Setting button for overrun time |
- Use the setting keys to set the start delay and/or overrun time → Start delay and overrun time.
- On RC, KRC, RCH and KRCH fans, use the left setting button to teach in the radio components → Tips for teaching-in radio components.

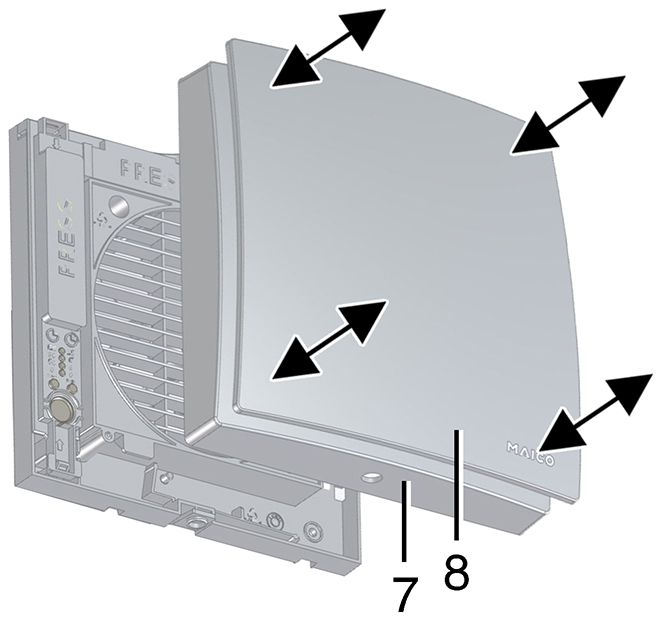
7
Housing cover
8
Designer cover
- Carefully press the housing cover with design cover onto the housing, until they snap into place.
 H
H